
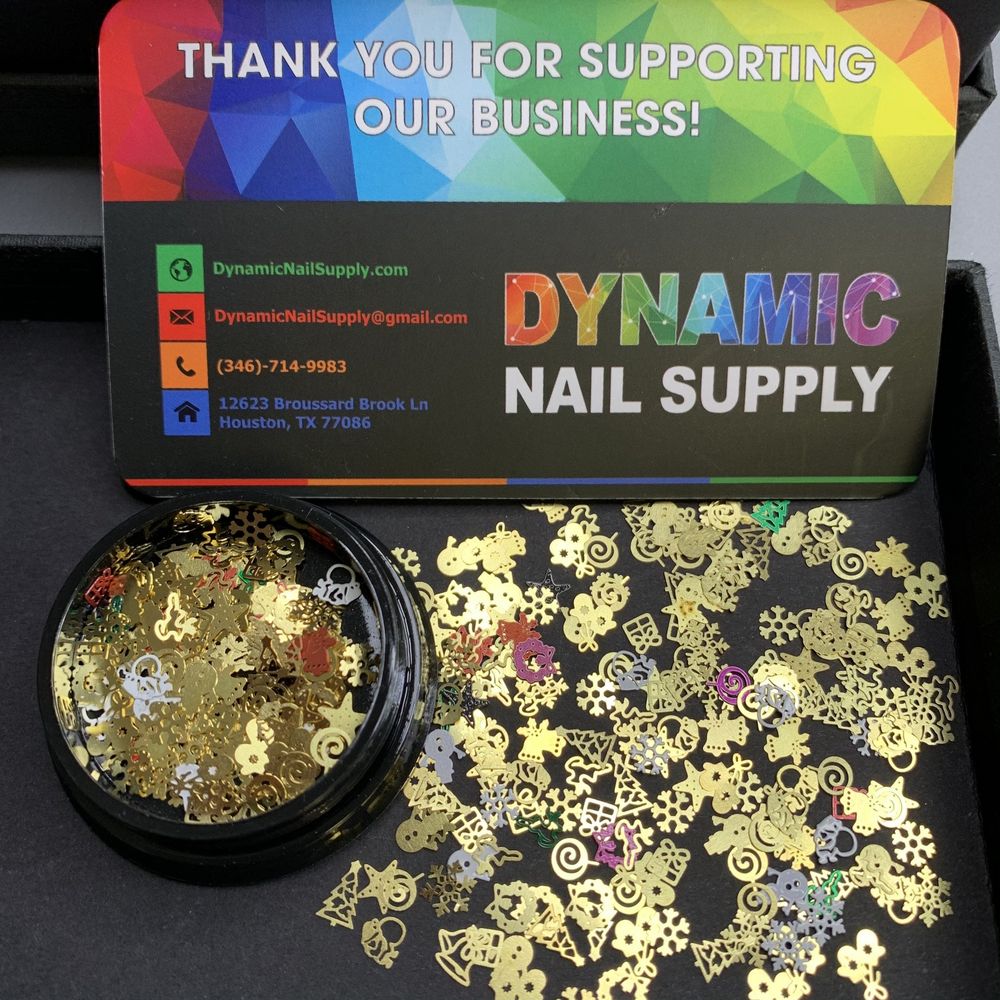
Small details make a big holiday statement. Christmas metal nail sequins add instant shine, texture and festive flair to manicures—and with the right prep and placement, you can achieve clean, salon-quality results whether you’re working on a client or your own nails.
What these sequins bring to your toolkit
Metal sequins are tiny accents that sit on top of polish or gel to catch light and create dimension. For holiday sets they’re especially useful: they layer over traditional reds, greens, nudes and clear finishes to add a luxe reflective touch without heavy tools or complicated molding. Because they’re small and thin, a careful application gives a delicate, professional look instead of a bulky decoration.
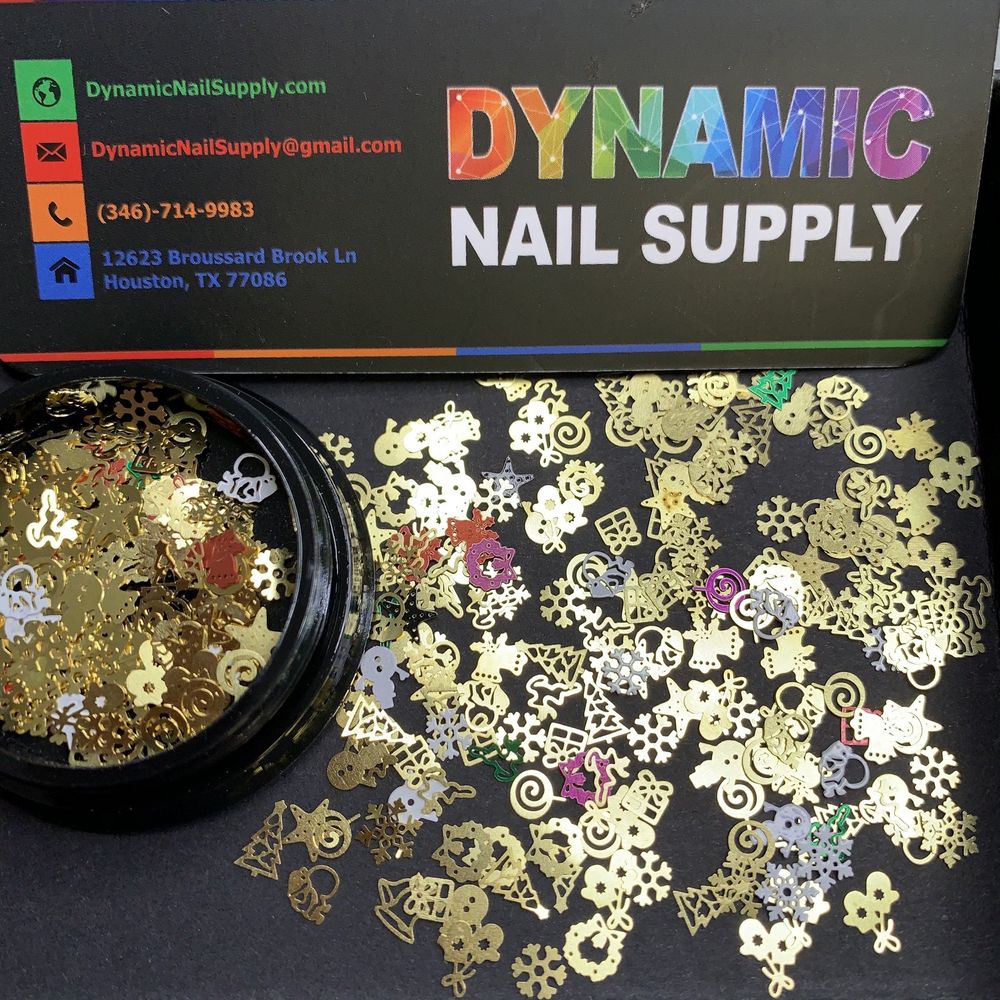
Prep for a professional finish
Great results start with surface preparation. Thoroughly push back and trim cuticles, file the free edge and lightly buff the nail plate to remove oils and shine. Clean the nail with a lint-free wipe and a nail cleanser or alcohol to ensure adhesion. If you’re using a soak-off gel system, apply your custom base and cure according to product instructions before adding sequins.
Application methods that hold up
There are two reliable ways to place Christmas metal nail sequins depending on the service: embedding in gel or affixing on top of polish. Both give a neat finish when you follow the right sequence.
- Embedding in builder or gel polish: After curing a tacky layer or applying a thin layer of builder, pick up a sequin with a wax-tipped tool or a clean dotting tool and lay it into the uncured or tacky gel. Smooth edges gently with the brush, then cure. Finish with a thin layer of top coat and cure again to lock the sequin flush with the nail.
- Affixing on cured polish: For varnish or fully cured gel, use a small dab of clear nail glue or a drop of resin to anchor the sequin. Place the sequin, press lightly, then seal with two thin layers of top coat—curing if needed—to prevent lifting.
If you want to try them at home, consider this pack: nail sequins metal finish
Placement and design ideas for holiday sets
Sequins are versatile across styles. Keep placement intentional to avoid a cluttered look:
- Accent nail: Apply a cluster near the cuticle or along the free edge of a single accent nail for a subtle statement.
- French twist: Use sequins to trace a glittery smile line on a French or reverse French design.
- Scattered sparkle: Lightly scatter one or two sequins on each nail for a cohesive, understated effect.
- Mini motifs: Combine sequins with tiny dots or lines to suggest stars, ornaments or holly berries without heavy sculpting.
Tools and tips for precise placement
Having the right gear keeps the workflow smooth. Use a wax pencil, a fine dotting tool or a tweezer with a rounded tip for control. Work under good lighting and, if available, a magnifying lamp to place sequins exactly where you want them. Apply sequins one at a time rather than trying to place several at once—this reduces slippage and helps you position each piece symmetrically.
Pro tip
To avoid fingerprints and smudges, cure a thin tack-free top coat layer before placing sequins when embedding isn’t an option. Then quickly set the sequin onto that cured layer using adhesive and finish with a final top coat.
Removal, care and safety notes
Because these are metal-finish accents, avoid peeling them off, which can damage the natural nail. For glued or top-coated sets, gently file the top coat to break the seal and soak according to your polish system’s removal instructions. If you’re unsure, always soften the adhesive with appropriate removers and use a wooden pusher rather than metal tools to lift the sequin.
Store sequins in a dry, cool place away from direct sunlight to prevent discoloration or warping. Keep containers closed between uses to avoid spills and to maintain organization for repeated salon services.
Who will love these sequins?
These Christmas metal nail sequins are ideal for nail techs building a seasonal kit and for at-home artists who want professional-looking accents without advanced sculpting. They work well for quick add-ons to client appointments or DIY holiday manicures on a budget—each small pack is an easy way to introduce shine into your design repertoire.
Final notes and quick checklist
At around $3.00 per pack, these sequins are an affordable way to add high-impact detail to holiday nails; prices may change, so check current listings. For best results, follow a simple checklist:
- Prep and cleanse the nail surface thoroughly.
- Choose embedding or adhesive application based on your polish system.
- Place sequins with a precise tool and seal with a thin top coat.
- Remove gently to protect the natural nail.
With careful prep and a light hand, Christmas metal nail sequins deliver a festive, salon-grade finish that’s easy to replicate across clients or at-home manicures.
