
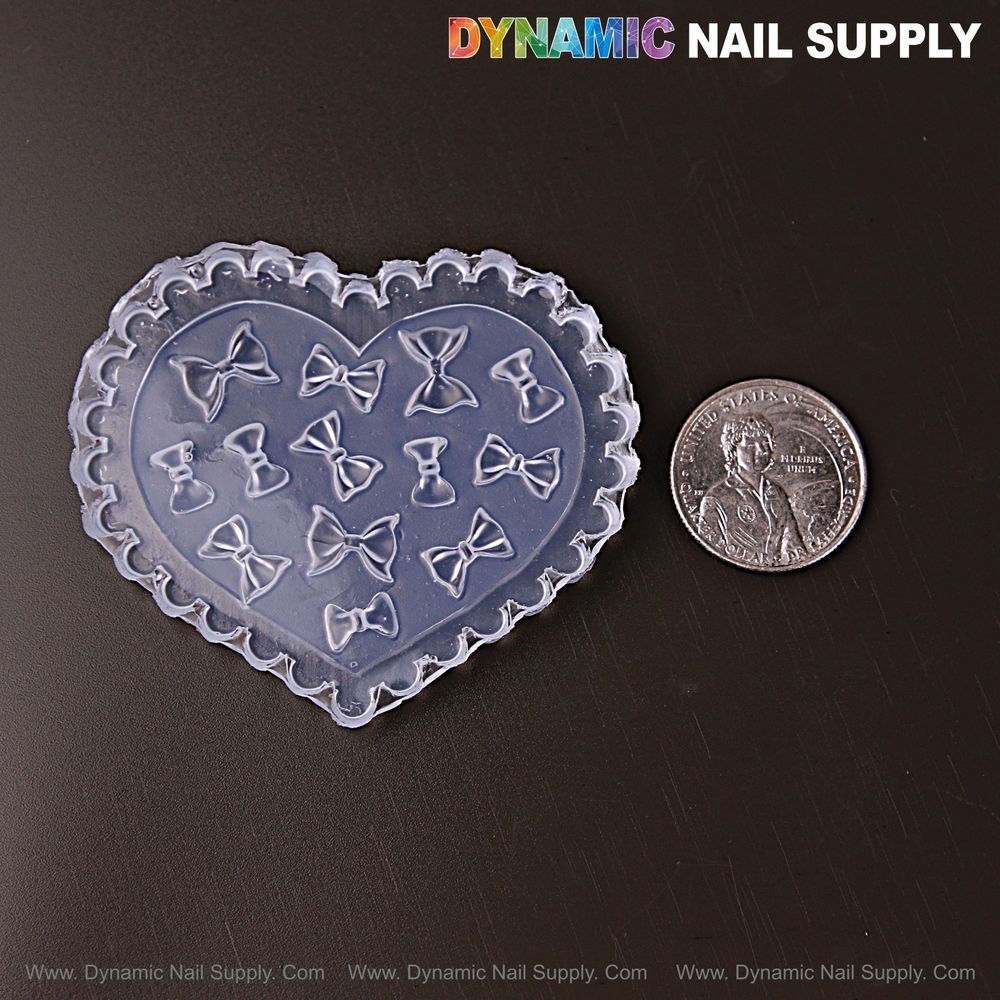
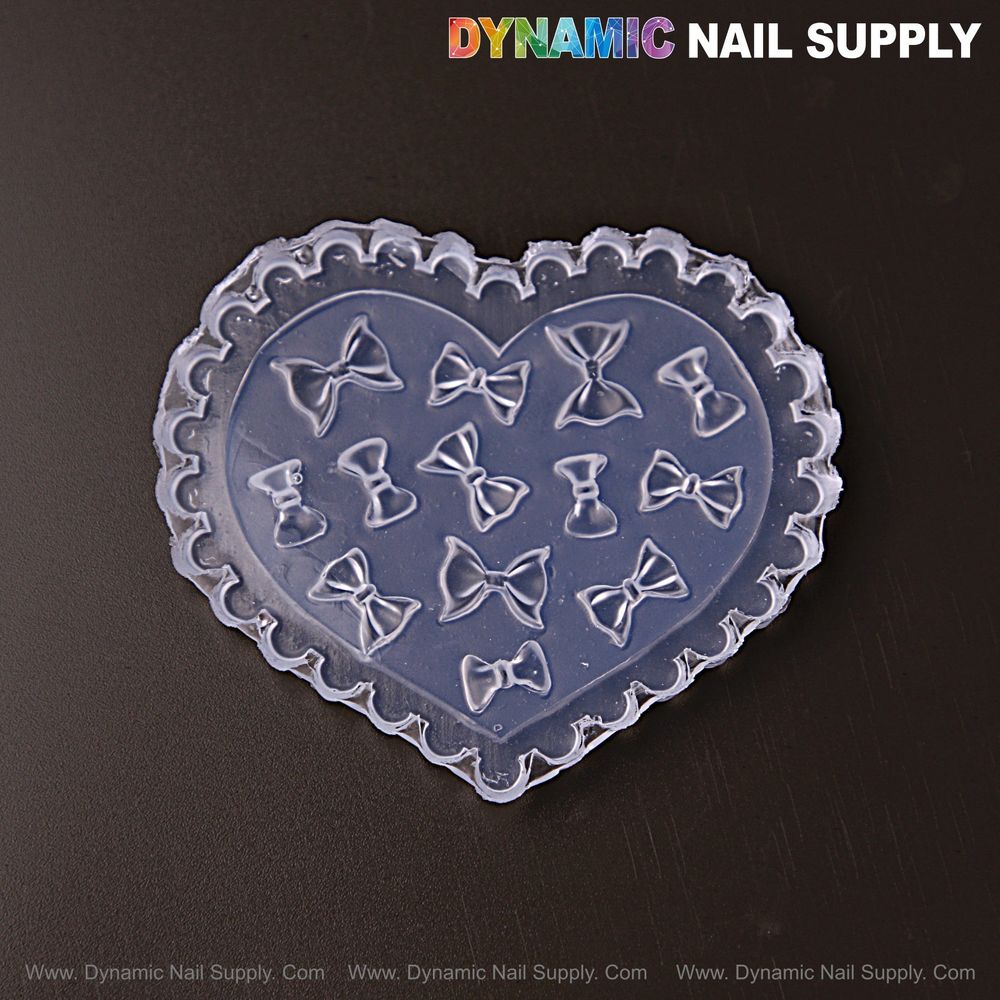
The Size Fluffy Bows 3D silicone mold is a translucent pale-lavender heart-shaped template with multiple small bow cavities designed for fast, repeatable solid-gel charms.
How should you set up your station for batch production?
Start by organizing a compact, linear setup: lamp, mold on a matte pad, syringe or bead dispenser, scraper card, detail tools, tweezers and a labeled tray for cured pieces. Work left-to-right so each motion feeds the next—dispense, level, cure, demold. Use a dark matte surface under the mold to see edges and cavity fill lines clearly; the pale-lavender translucence of the mold helps you judge fill depth without moving the light source.
How do you prep the Size Fluffy Bows mold to avoid defects?
Cleanliness and dryness are non-negotiable. Wipe the mold with alcohol or an approved mold cleanser, then remove any lint with adhesive tape. Let it air until fully solvent-free; trapped moisture causes tiny bubbles and adhesion points. Inspect the scalloped heart border and each tiny bow cavity under a 10x loupe to remove any dust or cured residue that would imprint on future castings.
What is the fastest, most precise way to dose solid gel into tiny bow cavities?
Use a syringe or micro-bead applicator to meter product. For these small cavities, the goal is repeatable micro-dosing rather than overfilling. Draw a consistent bead volume—test on a spare cavity until you hit the ideal volume that fills the cavity without overflow. If you prefer speed in service, pre-load multiple syringes with identical bead volumes to reduce handling time.
Place the bead directly at the deepest point of each bow cavity and let capillary action and gravity settle the gel. For intricate scallops and lace borders, use a fine carving pen to push product into undercut areas before leveling. Hold your scraper at roughly 45 degrees and make a single, controlled pass; multiple scrapes trap air and smear detail. Adjust pressure so the scraper barely kisses the mold surface—this preserves the crisp embossed lines.
How long should you cure and how do you avoid tacky or brittle pieces?
Curing depends on the solid-gel formulation you use; treat the mold as a visual reference. For short-cycle salon service, aim for incremental cures: a brief initial flash (10–20 seconds) to stabilize the surface followed by the full cure (30–60 seconds) listed by your product—test once per batch. Avoid overcuring: it makes small charms brittle and harder to flex from the mold. If you see slight tack after the full cure, a controlled top cure under low-intensity LED for 10–20 seconds usually equalizes surface cure without becoming glassy.
When you need to produce sets quickly, arrange multiple molds on the lamp tray and rotate them in sequence so while one batch is in the lamp another is being filled.
For routine salon stock, consider adding the Size Fluffy Bows mold to your charm rotation so technicians can rapidly produce matching sets using the same templates and procedures; Size Fluffy Bows mold
How do you demold without stretching or tearing delicate bows?
After curing, wait 10–20 seconds to allow the piece to cool slightly; warmer gel runs the risk of distortion during release. Always flex the mold from the edges toward the center rather than pulling the charm out. For clustered micro-bows, gently nudge the design with tweezers at the cavity base while you flex—this separates air pockets and reduces tension on fine points. If a charm resists, reinsert the lamp for a 5–10 second low-intensity flash to relax the polymer before trying again.
How do you finish, adhere and protect the tiny bows for salon wear?
Seat charms into a shallow bed of builder gel or use a tiny bead of nail adhesive at the placement point. For recessed applications—like embedding under a clear overlay—press the charm into uncured building gel and then finish-cure as one unit to lock it in without visible glue lines. Seal thin edges with a fine brush and top coat around the perimeter, then cure for 60–90 seconds per your top-coat instructions to avoid lifting later. Store finished charms flat in lightweight foam trays to preserve contour and prevent accidental flattening.
How should you care for and store the mold between services?
Wash the mold in warm water with a mild detergent, rinse, and thoroughly dry. Avoid acetone for routine cleaning; repeated exposure will shorten the mold’s life. Store flat and away from direct sunlight—UV and heat can harden the silicone and reduce elasticity. Keep a US quarter or similar coin in your quality-control kit for on-demand scale checks; the Size Fluffy Bows photo uses a coin to show real-world sizing so you can verify production consistency visually.
Mini glossary
- Micro-dosing — metering very small, repeatable bead volumes into cavities.
- Flash cure — short, low-intensity cure to stabilize shape before full cure.
- Undercut — recessed detail that traps product and requires a carving tool to fill.
Safety note: avoid direct skin contact with uncured gel and work with adequate ventilation. Keep the silicone mold away from sharp tools when cleaning and do not store alongside solvents that could degrade the material.
What quick checks keep results repeatable?
Record one ideal bead volume, one scraper angle, and one cure schedule for each solid-gel product you use. Run a four-piece sample every service day to confirm no drift in fill depth or cure time. With that three-point calibration you’ll produce consistent embossed bows efficiently.
Three quick questions techs ask most
- How long should I flash-cure before full cure? — Start with 10–20 seconds, then full cure per product instructions.
- How do I stop tiny air bubbles? — Clean, dry mold; micro-dosing; and a single scraper pass usually prevents bubbles.
- Can I reuse the same mold all day? — Yes, if you clean and dry between batches and avoid prolonged solvent exposure.
