
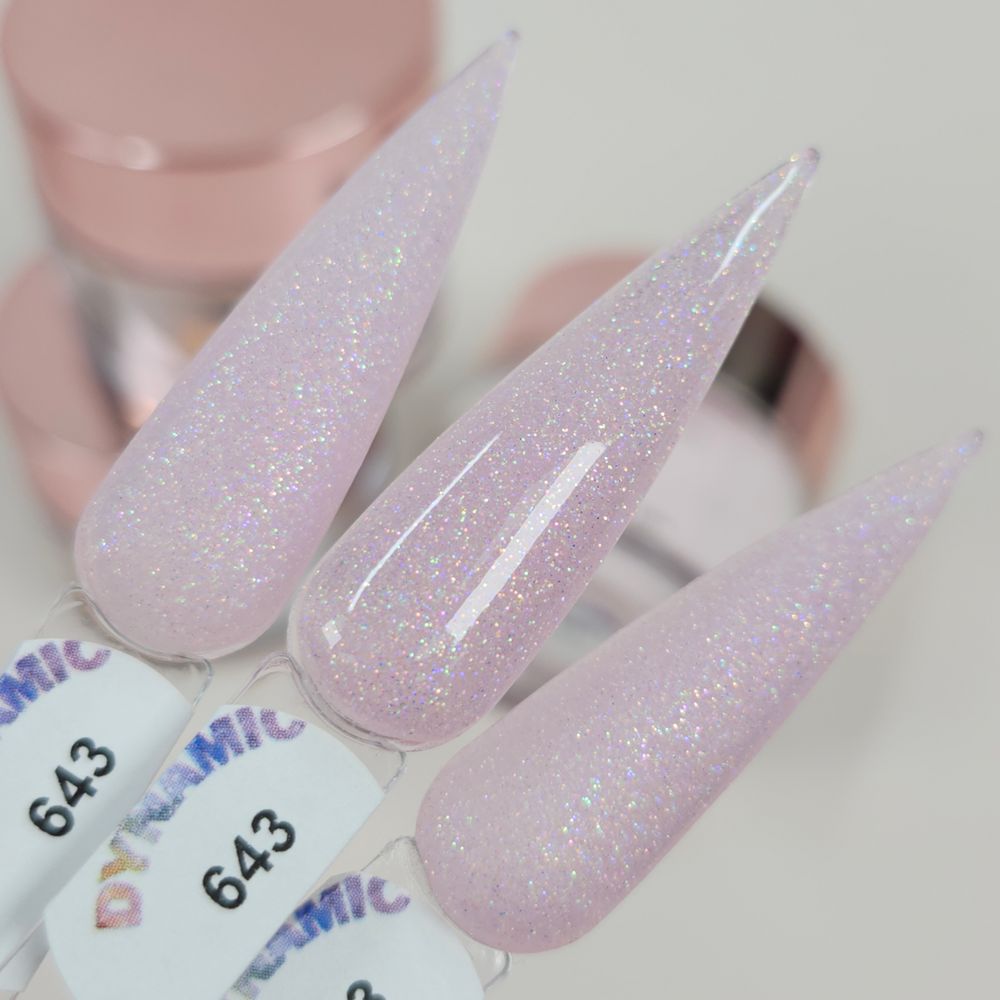
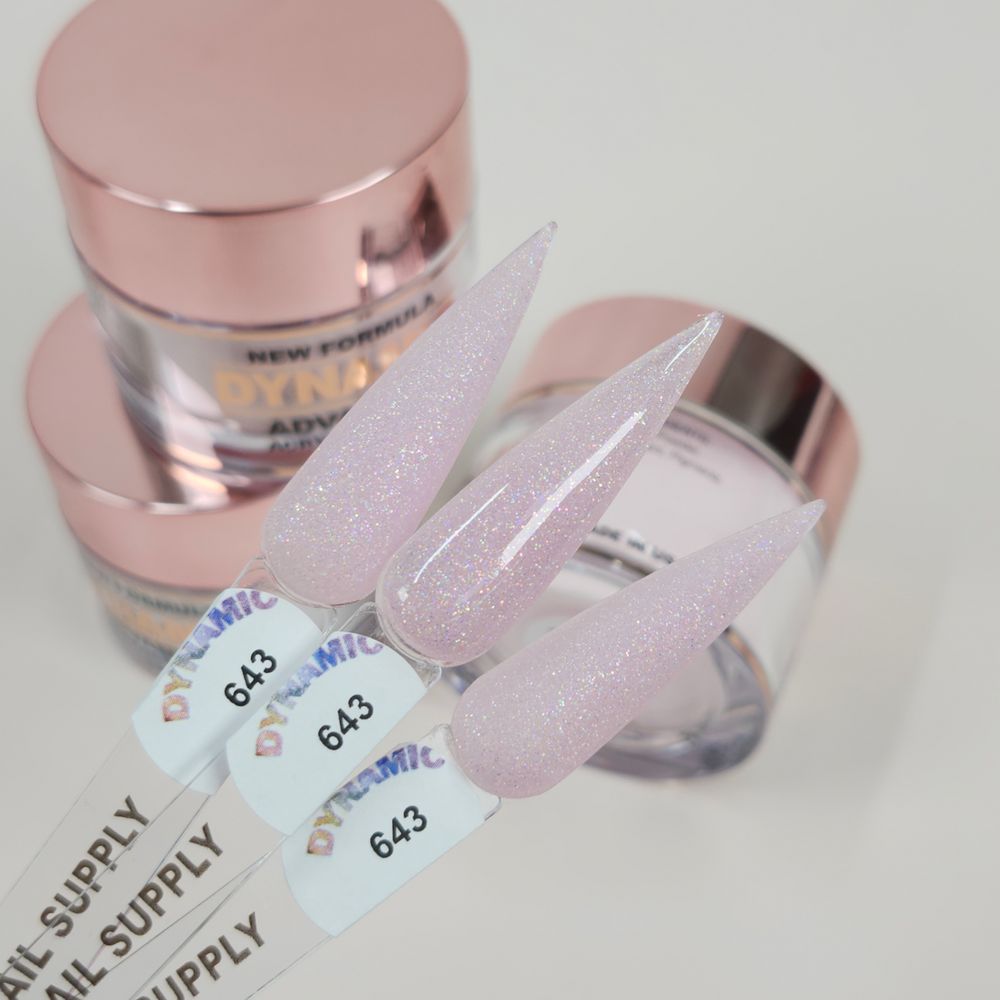
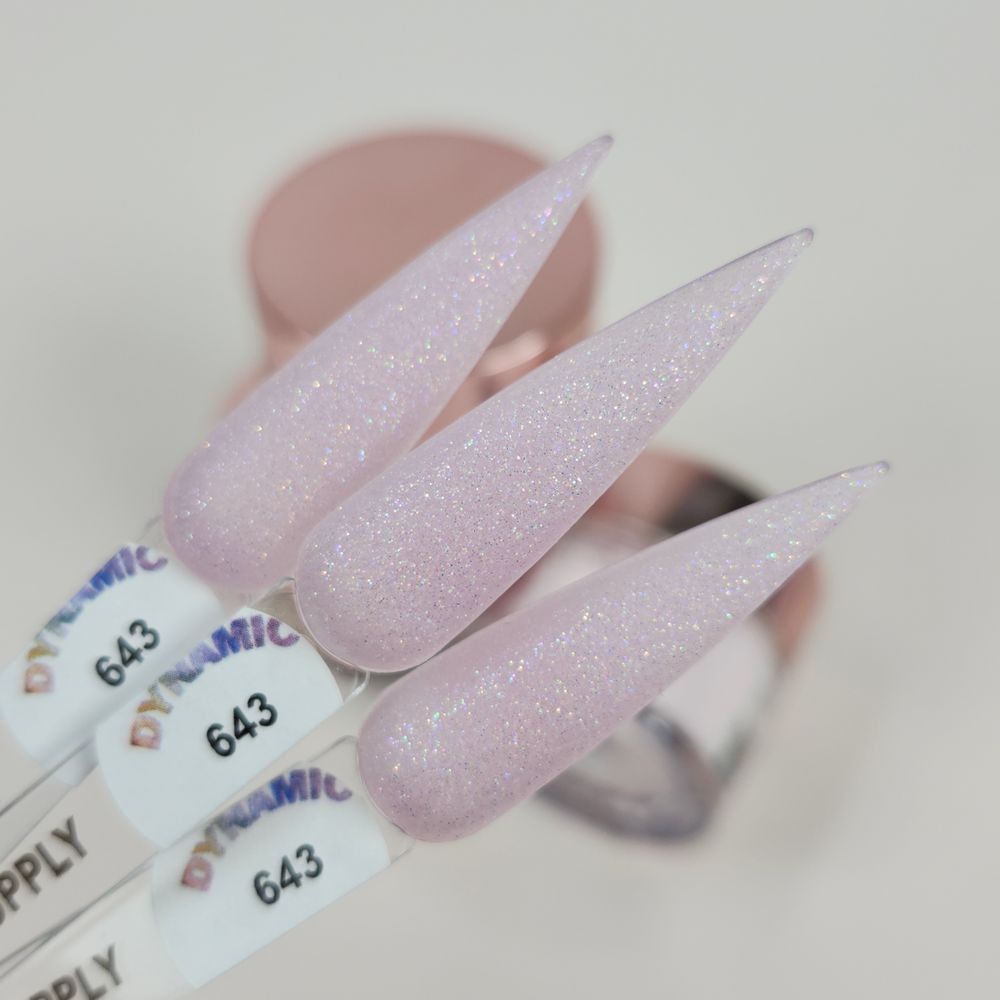
Shimmery Cover Acrylic Powder (#643) is a pale milky pink-lilac micro-glitter acrylic powder that reads opalescent and suits a full-glitter stiletto build.
How do you set up for a consistent opalescent stiletto application?
Start by standardizing your prep so every set begins with the same canvas. For stiletto shapes you should file free edge length and sidewalls to the same proportions on each nail, dehydrate and lightly buff the nail plate to a matte keying—this preserves bead adhesion without over-etching. Use a thin layer of primer only where you need adhesion; excess primer beading will alter polymerization and the powder’s shimmer distribution. Keep two size beads ready per hand: a control bead (smaller) for the tip and a body bead (slightly larger) for the apex; this reduces time spent reworking proportions.
What bead strategy creates an even full-glitter coverage?
With this powder’s milky pink-lilac base and dense holographic micro-sparkle, bead placement dictates how opalescent the final read will be. Use an A/B bead approach:
- Tip bead (A): smaller, placed close to the free edge and shaped to elongate the point—this concentrates the opalescent particles at the stiletto tip for drama.
- Body bead (B): medium, placed just behind the tip bead and pushed toward the cuticle with a gentle pull to avoid dome collapse.
Tap your brush lightly before each stroke to remove excess powder that can cloud the sheen. Because #643 contains very fine holographic flecks that read opalescent in soft light, avoid over-brushing or aggressive blending that will mattify the holographic effect.
How should you build structure without losing the pearly sparkle?
Build in controlled layers. For a full-coverage glitter stiletto:
- Apply the first thin layer using the A bead at the tip and B bead for the body; shape and let set fully.
- Lightly file to refine the stiletto profile, maintaining a soft opalescent surface—do not over-file through to the base color or you’ll expose a flat, less-reflective surface.
- Apply a second medium-strength layer, this time focusing coverage at the point and slightly tapering the shimmer toward the cuticle to create depth.
- Final thin cap layer: seal with a smooth, even acrylic bead to lock the micro-glitter into a glossy plane; when cured, buff only if necessary to remove minor ridges, then finish with a high-gloss topcoat for that wet, opalescent flash.
For efficiency, work nail-to-nail on the hand rather than finger-to-finger on both hands; this keeps your polymerization timing consistent and reduces rework.
What finishing choices preserve the holographic micro-sparkle?
The product photos show both glossy and slightly matte finishes; to keep the fine holographic flecks lively, opt for a high-gloss topcoat. If you prefer a softer, pearly look, use a satin topcoat sparingly—test one nail first to confirm the holographic particles still catch light as desired. When buffing between layers, use a fine 240–320 grit to avoid flattening the micro-glitter. A final glass buffer pass before topcoat will improve shine with minimal loss of depth.
Which stiletto lengths and client types suit this shade best?
Shimmery Cover #643 reads as a delicate milky pink-lilac that flatters medium to long stiletto shapes and photographs well for romantic or bridal services. It adapts to full-glitter coverage on long stilettos and offers subtle elegance on shorter lengths when applied more sheerly. Keep a note on consultation sheets about how the shade behaves under warm versus cool lighting—the opalescent effect intensifies in softer, diffuse light.
What are the key troubleshooting and safety steps you should follow?
- If the glitter appears patchy after curing, add an ultra-thin bridging layer of clear acrylic to reflow the surface and then reapply a light layer of #643 for sparkle density.
- Avoid excessive dust inhalation: use an extraction system or mask when filing cured acrylic and clean your station between clients to maintain finish consistency.
- Handle product jars carefully to prevent cross-contamination of shades; label jars and use separate dappen dishes for mixing beads.
Mini glossary
- Bead: a single mix of liquid monomer and powder used to sculpt.
- Apex: highest structural point on the nail, typically behind the free edge on stilettos.
- Reflow: the action of the liquid monomer smoothing pigments and particles into a glossy plane.
- Opalescent read: how micro-holographic flecks shift color in diffuse light.
Shimmery Cover Acrylic Powder #643 is priced $6–$8, prices may change. For salon services where you need dependable, even micro-glitter that photographs well, consider keeping a jar of this shade for romantic full-glitter stiletto sets and quick touch-ups.
Mini FAQ
Q: How many layers produce full sparkle without bulk? A: Two medium layers plus a thin cap is my baseline for full coverage with controlled thickness.
Q: Can you do a French tip with this powder? A: Yes, use a focused tip bead for concentrated sparkle and a sheer body layer to contrast the tip.
Q: What topcoat gives the best holographic pop? A: A high-gloss, UV-cure topcoat preserves depth and maximizes light return.
For consistent full-coverage opalescent builds on stiletto shapes, I recommend using Shimmery Cover Acrylic Powder #643 to maintain even shimmer and predictable bead behavior.
