
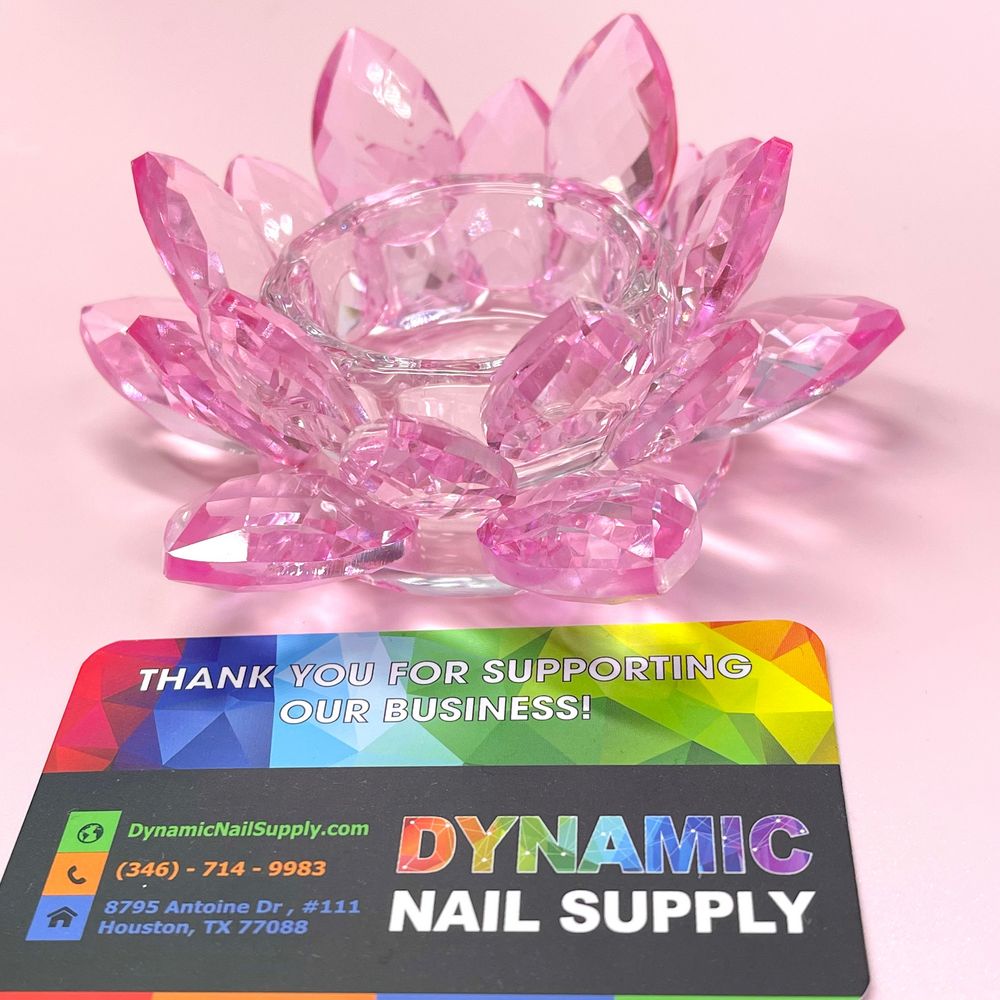
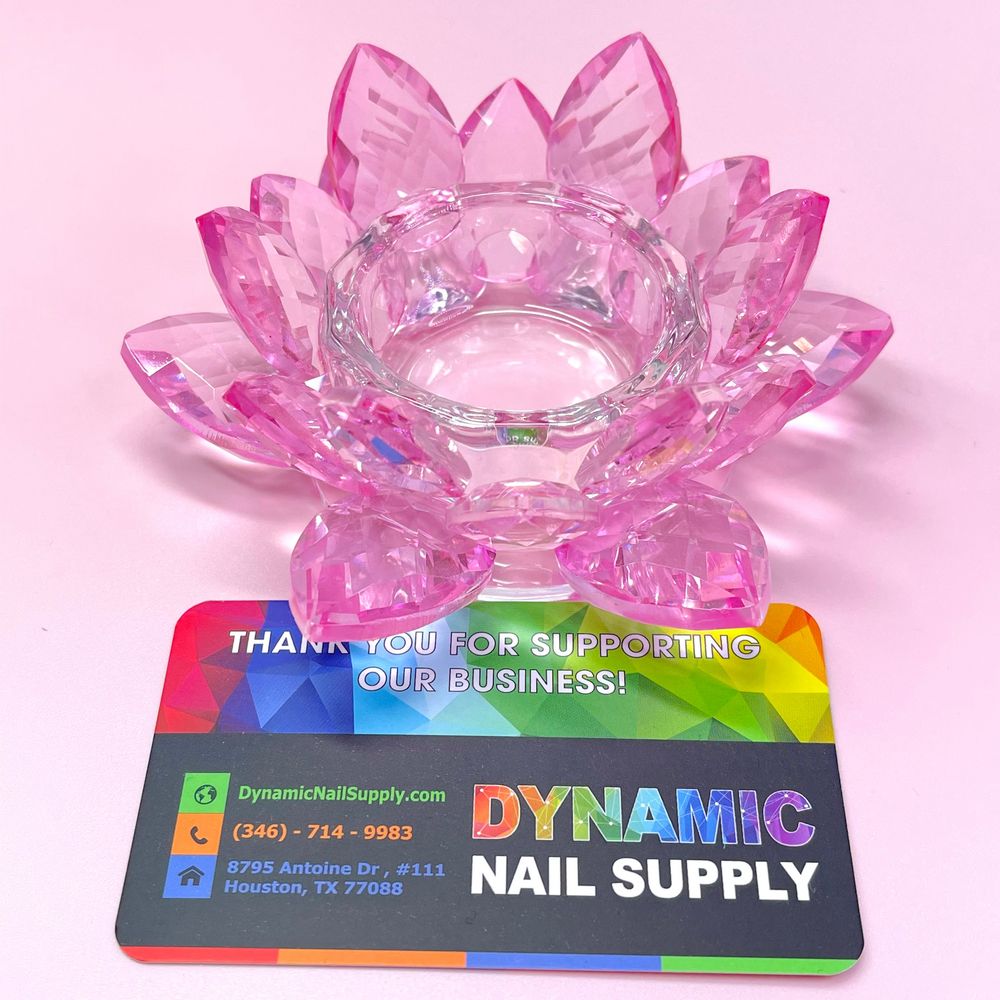
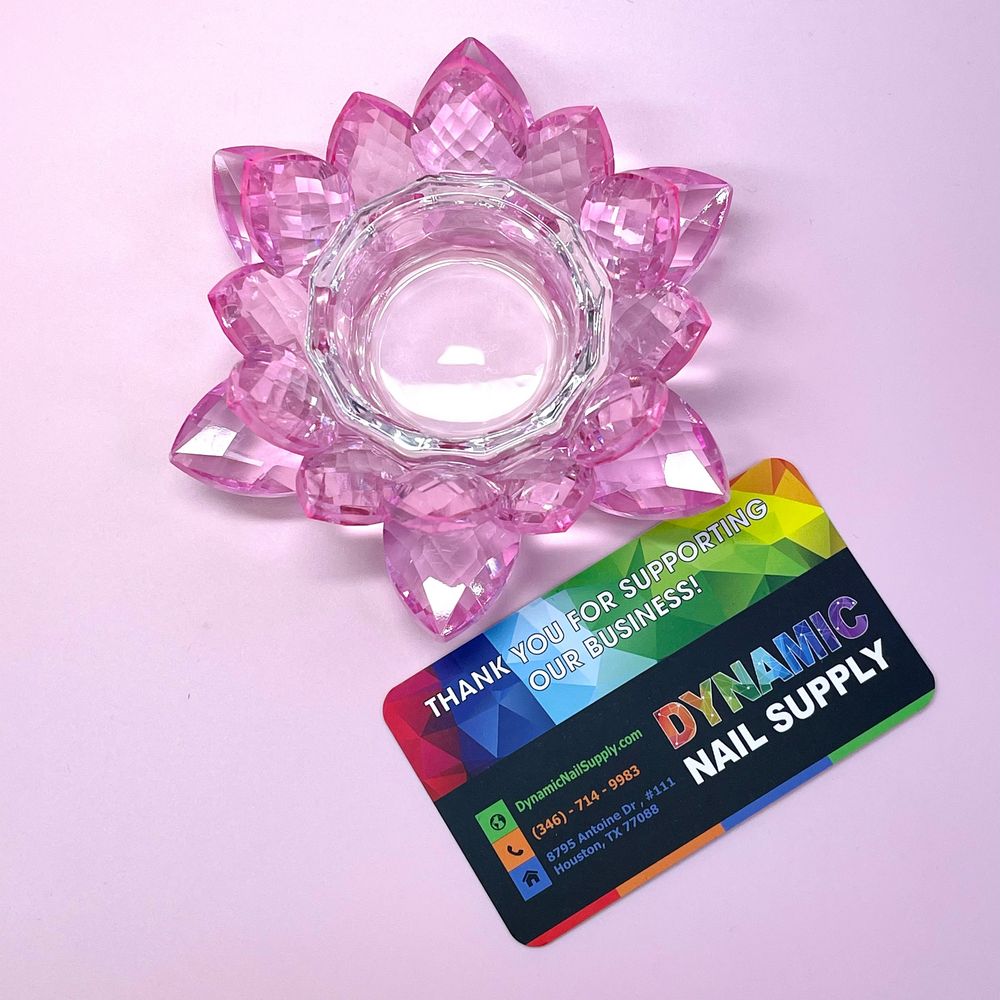
The Pink Crystal Lotus dappen dish is a faceted, lotus-shaped glass dish designed to hold tiny iridescent shards and small embellishments for precise placement.
How should you set up your station for this mani?
Set the dish to the strong side of your working hand so the clear central bowl faces you; the petal-shaped faceted rim creates natural catch areas for tiny pieces. Use a pale, non-reflective mat behind the dish (pale pink works well with the dish palette) to help the blue and purple iridescent flashes read consistently when you pick pieces up. Keep your monomer bottle or gel adhesive within the same hand zone and your angled tweezer or fine pick in the other. A small silicone pad under the dish prevents micro-slips during fine placement.
Which materials and timing deliver consistent adhesion?
Choose a slow-curing monomer bead or a medium-odour acrylic liquid if you plan to set shards into acrylic, or use a medium-viscosity gel adhesive for gel systems; the dish’s central cup (about 2.0 inches across) is sized to hold a measured amount so you don’t overpour. Work in short windows: pick a single shard, place it, then cure or allow the bead to tack—repeat. The dish’s faceted petals give you visual contrast for white, pale-pink, and iridescent pieces so you can pick the correct shard from the rim rather than fumbling through a pile.
What is the step-by-step placement technique?
- Prep: Complete cuticle work and natural nail prep. Remove dust; wipe the natural plate with the appropriate cleaner for your system and lightly buff the contact area of the free edge where the French tip will sit.
- Base application: Apply a thin, even translucent pink base (or a soft milky base) and cure if using gel. The base should be tacky but not wet when you place shards.
- Use the dish: Pour a small pool of adhesive into the clear center bowl. The visual clarity of the bowl helps you check drop volume without moving the dish. The pink crystal petals surrounding the bowl act as trays for pre-sorted shard sizes; arrange shards on the petals by size and reflection angle so you can pick the right piece without turning your head away from the client.
- Pick with precision: Use a pointed, anti-static pick or a 10/0 brush tip to lift one shard at a time. Because the dish has high gloss facets and iridescent blue/purple flashes, orient the shard so its reflective face will catch light the way you intend on the nail.
- Place and secure: Touch the shard gently to the tacky layer or to a tiny bead of adhesive in the central bowl, then press into position. Hold for a second or two to settle; cure per product directions or allow acrylic to set. Avoid pushing sideways; the lotus-style petals make it easy to see alignment without rotating the piece excessively.
- Seal: Add a thin encapsulating layer of clear gel or acrylic over the shard edges for longevity. The faceted petals of the dish help keep shards separated so you won’t pick up extras during sealing.
How do you control placement for a consistent French smile line?
Map the smile line with a fine white or pale-pink liner first, then use the dish to stage your shards in size order that follows that curve. Work in short runs of three to five nails so you maintain the same arc and edge thickness. The bubblegum-to-fuchsia gradient on the dish’s petal edges provides an easy color cue: pick shards from the lighter inner facets for softer highlights and from the deeper fuchsia edges for stronger tips.
When you need a controlled supply of shards on-hand mid-set, the dish keeps pieces visible and accessible; pink crystal lotus dappen dish sits low enough to avoid accidental knocks while the petal trays present shards at a slight angle for easier pickup.
What finishing touches increase wear and reduce lift?
- Feather the encapsulation layer beyond each shard edge to remove lifting points.
- Use a thin rim of adhesive under larger faceted pieces—apply a micro-drop from the central bowl, then seat the piece.
- Cure in short bursts when positioning multiple reflective elements to prevent migration.
- File and buff lightly after full cure, then apply a high-gloss topcoat to blend shards optically with the surface.
What safety and care steps matter for the dish?
Rinse glass or acrylic dishes immediately after sessions to avoid hardened residue—use an appropriate solvent for monomer or gel residues and allow to air-dry. Keep the dish away from direct heat and open flames; liquids and adhesives in the center bowl should be handled with the same precautions you use for monomer or gel products. Store on a soft surface to protect the faceted rim from chipping.
Mini glossary
- Central bowl — the clear inner cup used for tiny adhesive pools.
- Petal trays — the faceted rim sections that stage shards.
- Encapsulation — clear layer that seals shards into the enhancement.
Pricing note: this Pink Crystal Lotus dappen dish is priced around $10.79, prices may change.
Three quick FAQs
- Will this dish hold a large supply of shards? — It’s sized for controlled small loads and measured adhesive, not bulk storage.
- Can you use it for both gel and acrylic workflows? — Yes; the clear bowl and faceted rim suit adhesive drops for either system.
- Does the dish affect color matching? — The pink-to-fuchsia gradient and iridescent flashes help you preview reflective effects against pale-pink backgrounds.
