
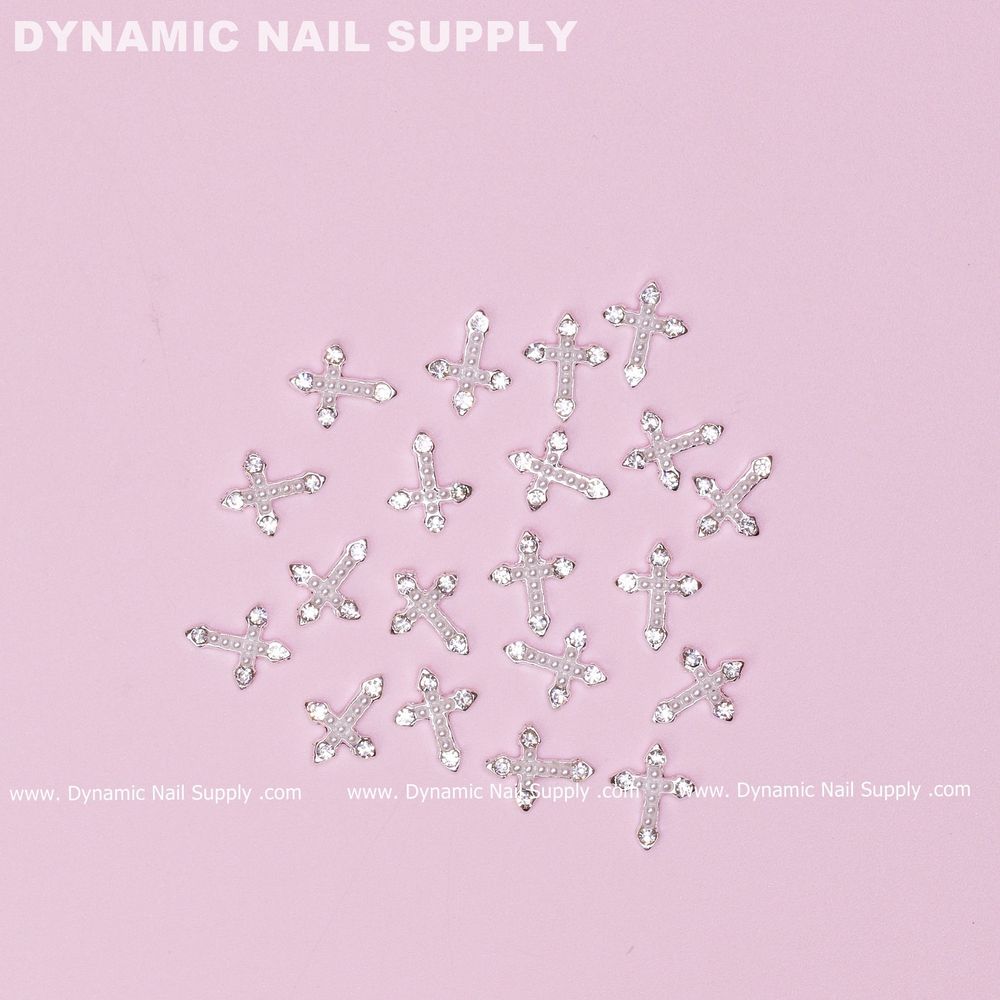
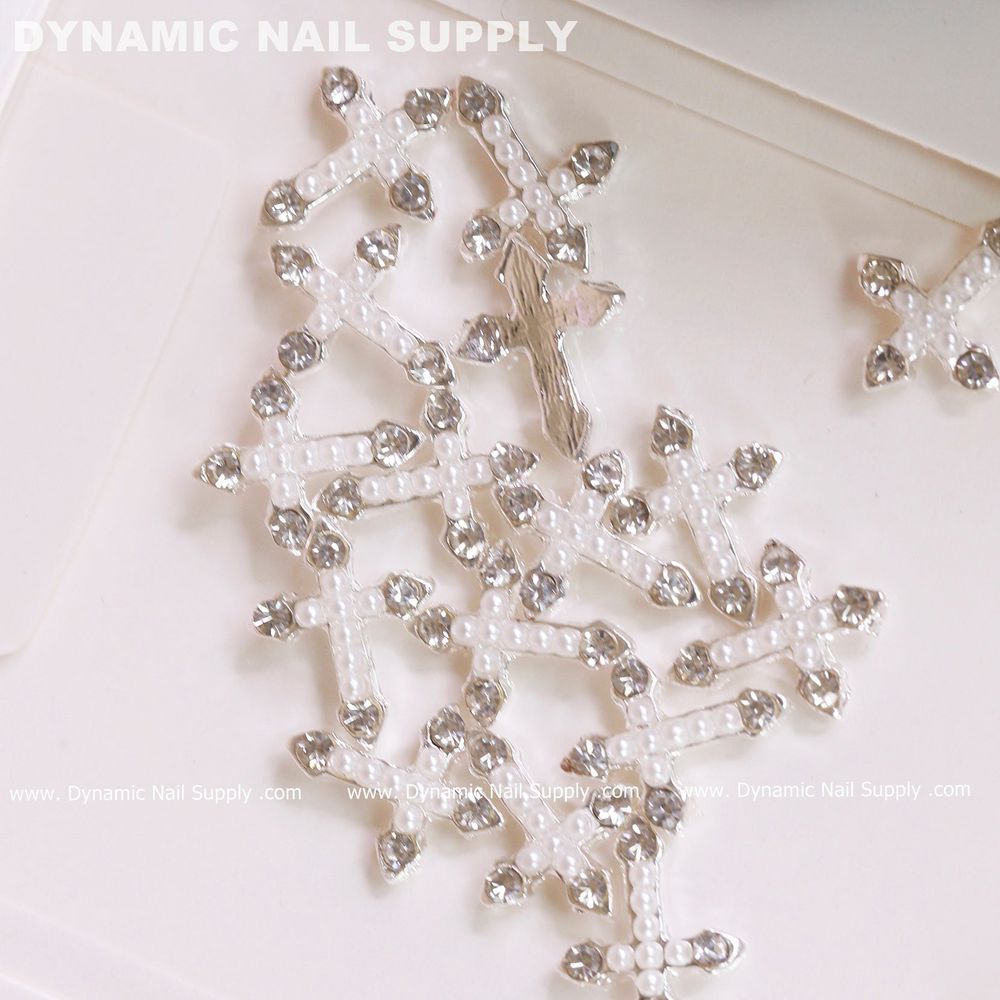
20 pcs Silver Crosses (with white Pearls engraved) for Nails Art Design — a small, chrome-like cross charm set with clear rhinestones and glossy faux pearls intended as single-nail focal accents.
What surface preparation prevents early lift?
You already know surface prep controls most service longevity. For these chrome-like silver crosses with embedded rhinestones and faux-pearl beads, start with fully cured nail enhancement or a dry, clean natural nail. Remove any dispersion layer from gel with an alcohol wipe only after final cure; for acrylic, lightly buff the apex zone where the charm will sit with a 240–180 grit to create a micro-scratch pattern. Clean the area with a lint-free wipe and 70% isopropyl alcohol or a manufacturer-recommended cleanser. Work in thin, controlled strokes and avoid over-buffing the surrounding polish to preserve polish integrity and the charm’s reflective setting.
Which adhesives and bonding methods give reliable hold?
Choose adhesive based on substrate and expected wear. For gel overlays and soft gel fills, use a medium-viscosity gel adhesive or a no-wipe builder-gel tack layer cured tacky—this conforms to the charm base and reduces trapped air. For acrylics or hard gels, a two-step system is preferable: a thin brush-on cyanoacrylate for initial tack, followed immediately by a small bead of clear gel or monomer-enhanced acrylic overlay to encapsulate the charm edge before final cure. If you use cyanoacrylate alone, limit the amount to avoid whitening around pearl beads and to prevent wicking under rhinestone settings.
How do you position and secure the silver pearl crosses precisely?
Placement matters more than size. Use a fine-tipped wax pick or curved acrylic tool to place each tiny cross; the soft tip prevents snagging the pearl beads. When working on a bridal or muted-pink base, center the charm on the nail’s width and slightly above the cuticle line for classic emphasis, or position on the ring finger’s center for a single-stone focal nail. For gel services: apply a dime-sized drop of gel adhesive to the nail, place the charm into position, then tack cure for 1–2 seconds with a LED lamp (just enough to hold). Confirm seating, then cure fully for the manufacturer’s recommended time. For acrylic: press the charm into a thin wet bead of acrylic and hold until the initial set; then add a tiny acrylic feather around the edges to lock it before the bubble stage finishes.
What curing technique and sequencing minimize damage to pearls and rhinestones?
Both faux pearls and faceted rhinestones can reflect heat differently than polymer. Avoid overcuring in a single spot; use short tacks to set, then full cure at the lamp distance recommended. If using UV gel, warm the lamp environment by avoiding prolonged high-power exposure—shorter, staged cures prevent micro-movement and stress. For cyanoacrylate-plus-overlay workflows, cure the overlay or allow full monomer polymerization before any aggressive filing; this keeps intense friction away from the pearl coating.
How should you reinforce and finish the charm for salon durability?
Reinforcement is where a pro’s touch shows. Once the charm is seated and fully cured, encapsulate the charm edge with a thin clear builder gel or a sheer acrylic feathering technique—do not cover pearl faces or rhinestones unless the design calls for a protective top layer. When feathering, blend the overlay into the existing enhancement so the transition is gradual; sharp ridges collect dirt and cause lift. Finish with a matte or gloss topcoat only on the enhancement surrounding the charm, and use a thin brush to avoid pooling on metal surfaces which can dull the chrome effect. A final quick-pass cure consolidates the repair and sets the finish.
What maintenance and client instructions extend wear?
Coach clients to avoid direct knocks and to use gloves for heavy hand work. Recommend gentle cleaning with a soft brush around the charm and avoidance of strong solvents or acetone-based soak treatments which can break down adhesives and dull faux pearls. If a charm begins to shift, remove it and reapply using the original adhesive strategy rather than trying to patch with excessive glue—this prevents thicker, visually obvious repairs.
Mini glossary
- Feathering: blending overlay material into the enhancement edge for a seamless finish.
- Tack cure: short lamp exposure to set position without full polymerization.
- Micro-scratch: light buffing texture to increase surface area for bonding.
- Overlay: a thin layer of builder gel or acrylic applied over or around a charm to secure it.
Any special safety or handling notes?
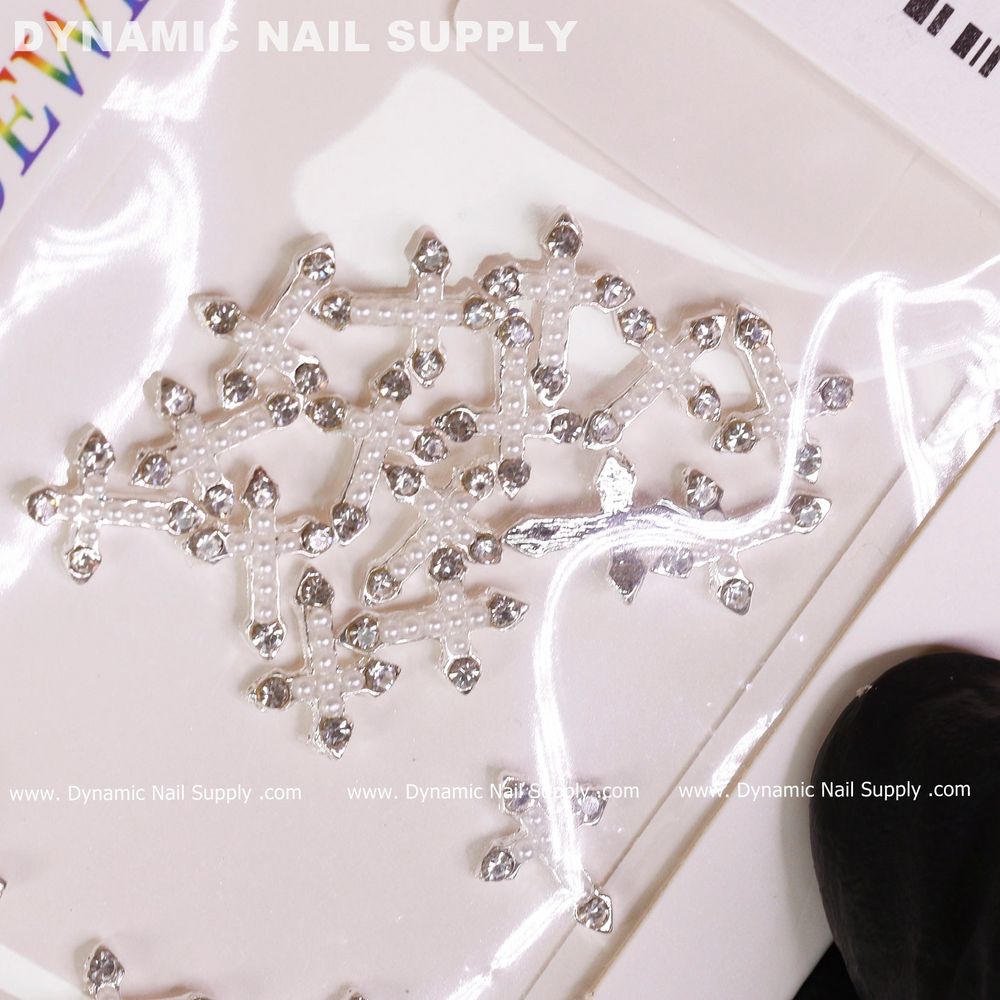
Handle the tiny crosses on the supplied card to avoid loss; rhinestones and faux pearls are decorative and can chip if dropped. Use minimal cyanoacrylate near skin to avoid bonding, work in a ventilated area, and wipe brushes promptly after solvent exposure. Dispose of excess glue and wipes according to salon safety practice.
How do you troubleshoot common failure points?
If a charm lifts at the edge, diagnose whether the failure is adhesive breakdown, placement on a low-bond zone, or mechanical trauma. Remove the charm, clean both surfaces, and reapply with a slightly more viscous adhesive plus feathered overlay. If pearls show whitening, the adhesive likely wicked under the coating—choose a gel-based adhesive next time or protect the pearl faces with a micro-barrier before using cyanoacrylate.
For the exact 20-piece silver cross design with white faux pearls shown here, you can find full item details and current pricing here: silver pearl cross set
Mini FAQ
- How long should initial tack cures be? — 1–2 seconds to hold, then full cure per product instructions.
- Can I encapsulate the whole charm? — You can, but avoid covering pearl faces unless needed for protection.
- What adhesive is best for acrylic backfills? — Thin acrylic feathering plus a spot of cyanoacrylate for immediate set, then acrylic overlay.
